
Uploading media using the Clearance Uploader
You can use the Genetec Clearance™ Uploader application to automatically upload videos, media, and other file types without manually logging into Clearance. Uploaded files are searchable and can be added to cases. The Uploader automatically resumes the upload process after an interruption, making it a great solution when uploading larger files or a large selection of files.
Before you begin
- The Clearance Uploader must be associated with a Clearance account to upload media to that account.
- You must have an active internet connection.
What you should know
The media files are then uploaded from your client to your Clearance account. Deferred schedule uploads can optimize this process by performing the upload activities at a more convenient time.
Scheduled uploads can help you avoid using bandwidth during office hours by deferring uploads to a more convenient time. Scheduled uploads are also useful if you are using a multi-dock or are uploading media from multiple devices, which might consume excessive bandwidth.
The Clearance Uploader supports a maximum of 26 concurrent cameras per workstation or server when using a multi-dock.
Logs are also kept to provide details about media uploads. These event logs can be found in C:\ProgramData\AppData\Local\Genetec Clearance\logs.
Procedure
-
Download the files to your client workstation by completing the following
steps:
-
(Optional) Click the
 icon to start the Clearance Uploader
agent.
icon to start the Clearance Uploader
agent.
-
(Optional) Click the
-
The media files are uploaded from your client to your Clearance account.
Depending on your defined settings, one of the following occurs:
- If no schedule is specified, the media files are uploaded immediately to your Clearance account. During upload the following states can occur: Uploading, In Progress, Completing, Completed, Calculating, and Pending.
- If an upload schedule is specified, the media files are automatically uploaded to the Clearance account at the deferred schedule time. Scheduled uploads are useful when using a multi-dock or when uploading media from multiple devices.
- If a sync folder is enabled in the configuration settings, any files put in the sync folder are uploaded immediately.
After the media files upload completes, the media files are deleted from the client workstation.Note: You can set up or change an Upload schedule or Sync folder in the Settings section of the Clearance Uploader
agent. You must have administrator access to view
or change these settings.
Settings section of the Clearance Uploader
agent. You must have administrator access to view
or change these settings.
-
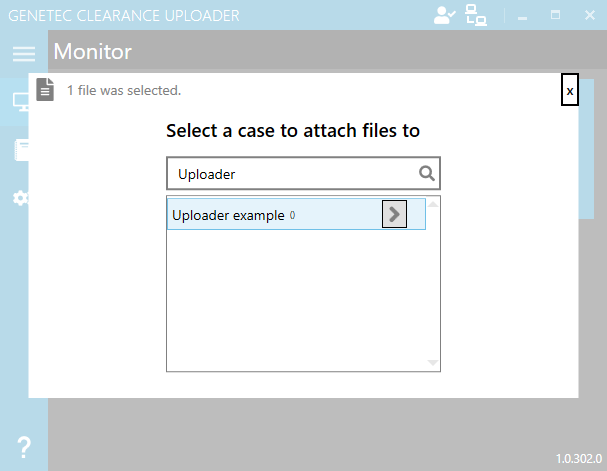
If you clicked Select existing case, do the
following:
-
Select the case that you need and click
 to upload the file to the selected
case.
to upload the file to the selected
case.
-
Select the case that you need and click
-
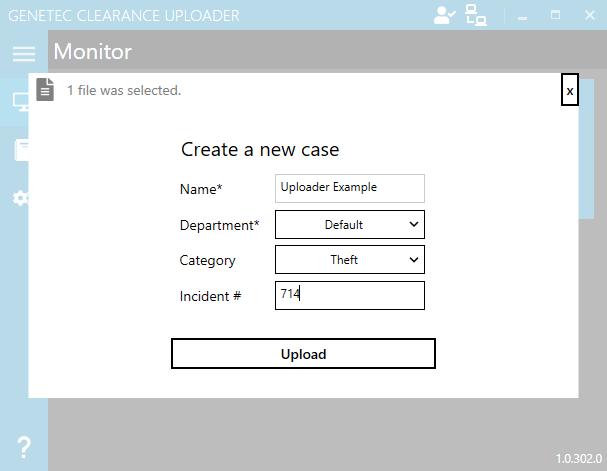
If you clicked Create a new case, do the
following:
-
Click Upload.
-
Click Upload.
Example
Watch this video to learn more. Click the Captions icon (CC) to turn on video captions in one of the available languages.