Redacting scenes
2025-06-24Last updated
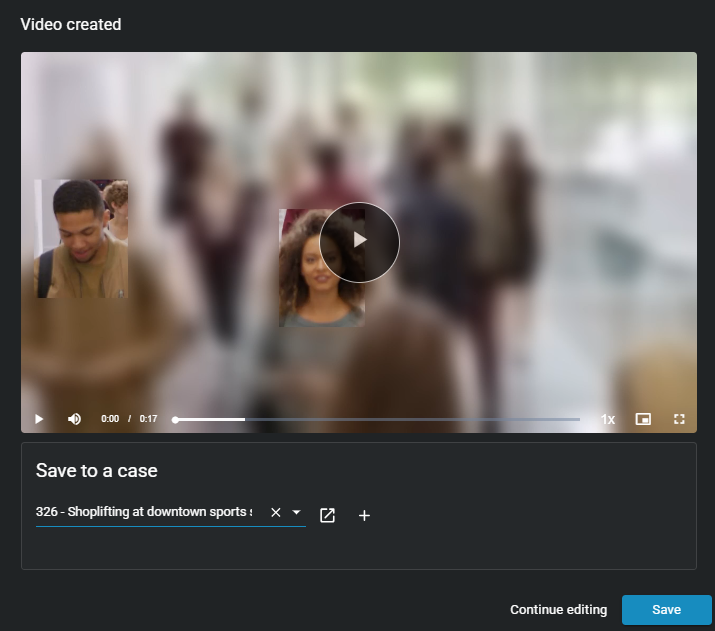
You can use scene redaction to keep specific subjects visible in a video while simultaneously redacting the surrounding environment.
What you should know
- When scene redaction is enabled, the entire visual area in the video is redacted. From
there, you can reveal selected areas by applying masks to them.Example:If a crowded concert venue needs to share footage of a specific person suspected of theft, and there are too many other people and sensitive details in the scene to use traditional redaction, they can use scene redaction to obscure uninvolved individuals shown in the video. The resultant redacted video then only displays the person of interest.
- When scene redaction is enabled, only the blur redaction effect is available. The black box redaction effect cannot be used with scene redaction.
Procedure
-
From a case, navigate to the file you want to
redact, click More (
 ) in the Files, and
then click Trim and Redact.
Tip:You can also start a redaction from the File page or from the Evidence preview window when previewing evidence in a case.The Trim video window opens.
) in the Files, and
then click Trim and Redact.
Tip:You can also start a redaction from the File page or from the Evidence preview window when previewing evidence in a case.The Trim video window opens.
To trim a video file:
-
(Optional) Move your cursor over the start or end of the file timeline and drag the its
borders to fit your desired time range or adjust the From and
To time values.
-
In the Mask video section, turn on the Scene
redaction option.
 The entire scene shown in the video is redacted.
To show a visual area in the scene manually:
-
In the Mask video section, click New mask
(
 ).
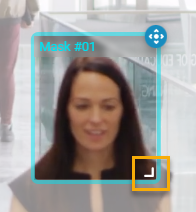
A mask covering an area in the video appears. When scene redaction is applied, masks reveal areas within an otherwise redacted video.
).
A mask covering an area in the video appears. When scene redaction is applied, masks reveal areas within an otherwise redacted video. -
To resize the mask, use your mouse at the
lower-right corner of the masking box.
-
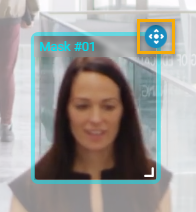
If the person or object you must redact
is moving in the video scene, you can adjust the mask location using the
tracking tool, as follows:
-
Next to the masking box on the video preview, click and hold the
tracking button (
 ).
).
-
When the mask is no longer required on the video, release
the tracking button ().
-
Next to the masking box on the video preview, click and hold the
tracking button (
-
To change the duration of the mask,
adjust the start and end points of the mask in the timeline.
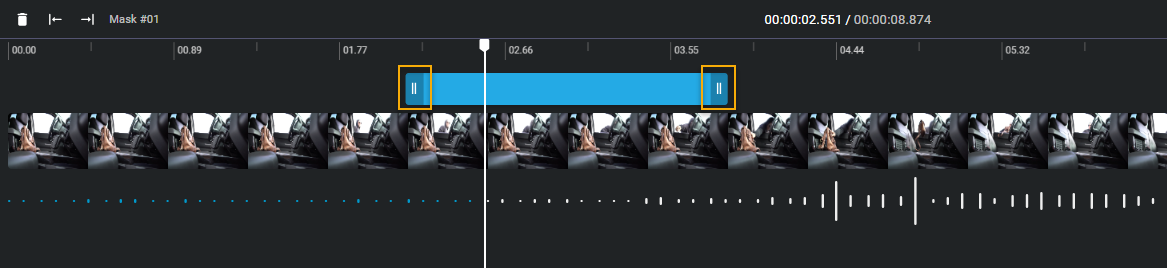 Tip:You can also adjust the start and end points by dragging the timeline bar to a specific point in the video and clicking Start mask at current time (
 ) or End mask at current time (
 ).
). -
(Optional) Modify your masks if required.
-
Click New mask () to create more masks.
-
Click delete (
 ) to remove any masks that you no longer require.
-
Click New mask (
-
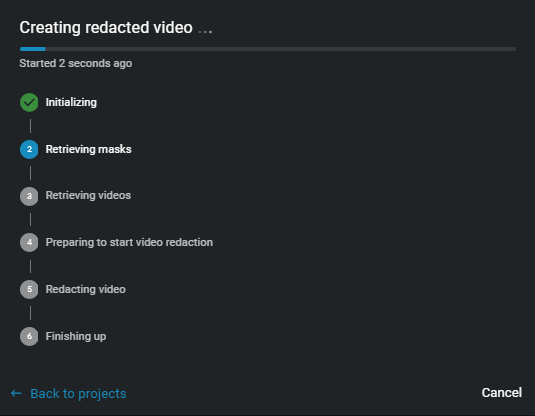
Click Create video to generate the redacted file.
-
(Optional) Click View details to track the
progress.
-
(Optional) Click View details to track the
progress.
-
(Optional) To save the redacted video to an existing case.
-
Enter a case ID or name in the Search field or click the menu to see a list.
-
(Optional) To check that you have the correct case click View
case (
 ).
).
-
Click Save to create a redacted copy of the video
file.
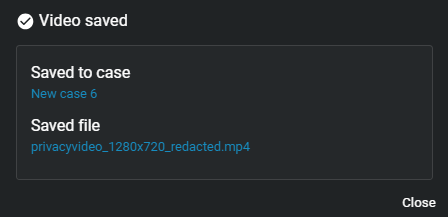 Tip:Click View file to change the file name before closing the dialog, so that others can easily find the file.
-
Enter a case ID or name in the Search field or click the menu to see a list.
-
(Optional) To save the redacted video to a new case. For example, when you want to
share redacted evidence with someone who must not have access to the original case.
-
Click Create a case.
-
Click Save to create a redacted copy of the video
file.
Tip:Click View file to change the file name before closing the dialog, so that others can easily find the file.
-
Click Create a case.
Example