2024-08-06Last updated
Trimming is the act of shortening a recording and isolating
parts that are relevant to your case. When trimming is performed, the original video is
preserved and the trimmed version is saved as a copy. Choose to keep only
the relevant sequence of a longer video to accelerate the review of the recording.
Procedure
To trim a video:
-
From a case, navigate to the file you want to
redact, click More (
 ) in the Files, and
then click Trim and Redact.
Tip: You can also start a redaction from the
File page or from the
Evidence preview window when
previewing evidence in a case.
The Trim video window opens.
-
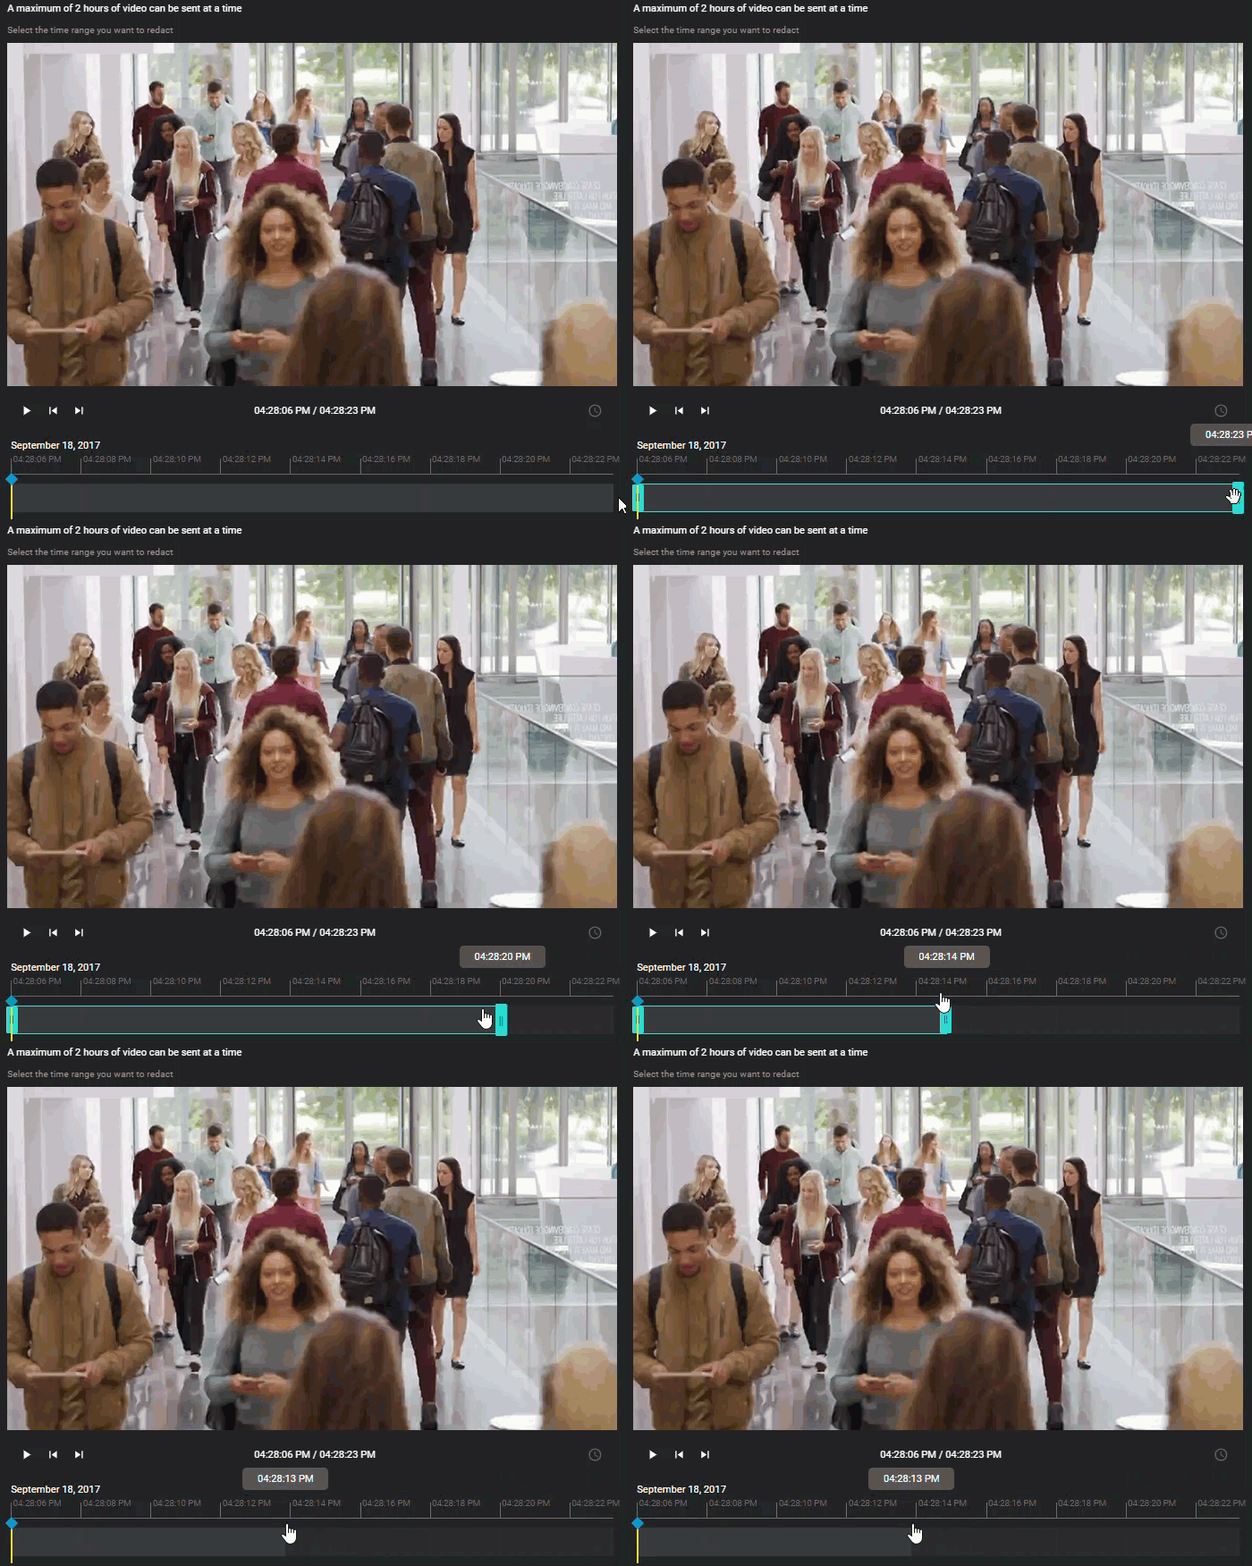
(Optional) Move your cursor over the start or end of the file timeline and drag the its
borders to fit your desired time range or adjust the From and
To time values.
-
If an i-PRO in-car system with multiple microphones associated with it recorded the
video, you can choose the audio channel that best suits your needs.
-
Click Save to a case.
The Save to case window opens.
-
Modify the name of the video as necessary.
Tip: Include identifying information in the name of the
video that indicates it is a trimmed copy.
-
If you must associate the trimmed video with other cases, click
Add (
 ) and select the necessary cases.
-
(Optional) If you want to copy the field information, including location, category, and
tags from the original video to the trimmed copy, select the Copy evidence
field information check box.
-
Click Save.
To redact the video after trimming:
-
From the Edit video window, click
Redact.
After you finish
- Before sharing the case with third parties or guests, restrict access to the original
file by changing the access policy for
the file.
- If you need to conceal sensitive or identifiable information in the recording, refer to
the following:

