
Redacting video
To reduce the time required to redact videos, use the face detection function to detect faces, then manually adjust the masks if required.
What you should know
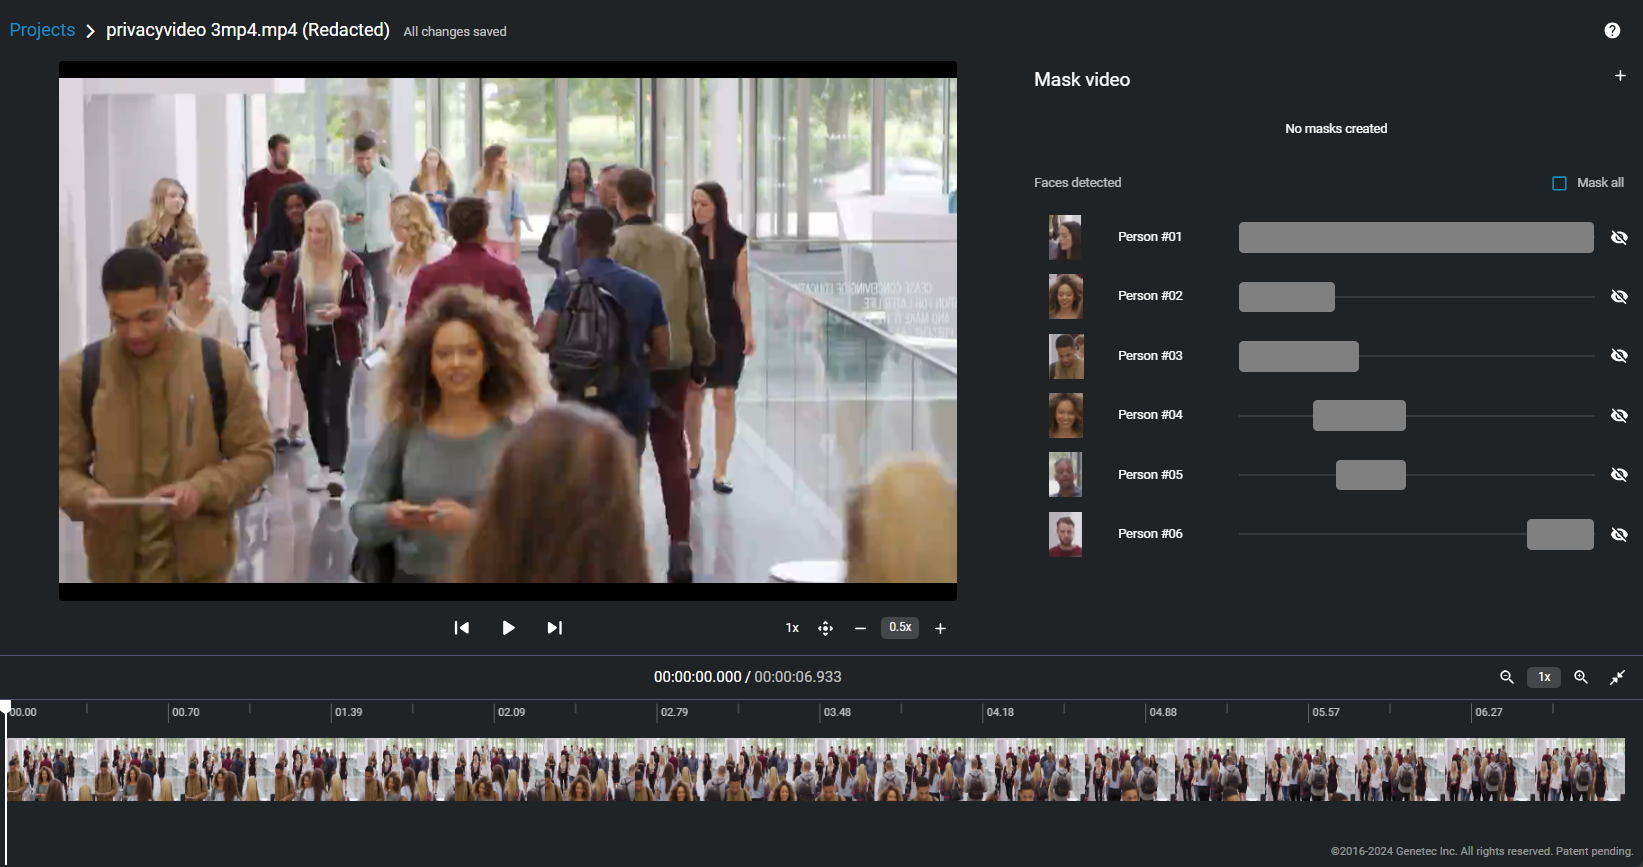
- When the process is complete, a thumbnail image of each detected face is then displayed, these thumbnails can be used to select the individuals that should be redacted from the scene.
- Masks are applied to all parts of the scene where a face is identified.
The processing time for auto face detection can vary depending on the video file size and will be affected by the resolution, length, frame rate, and other factors related to video. The success of the auto face detection can vary depending on the quality of the video and whether the subject is facing to the front or the side.
Performing video redaction (Auto Face Detection) on a mobile device is not supported.
Procedure
-
From a case, navigate to the file you want to
redact, click More (
 ) in the Files, and
then click Trim and Redact.
Tip:You can also start a redaction from the File page or from the Evidence preview window when previewing evidence in a case.The Trim video window opens.
) in the Files, and
then click Trim and Redact.
Tip:You can also start a redaction from the File page or from the Evidence preview window when previewing evidence in a case.The Trim video window opens.
-
(Optional) Move your cursor over the start or end of the file timeline and drag the its
borders to fit your desired time range or adjust the From and
To time values.
-
The face detection search begins automatically.
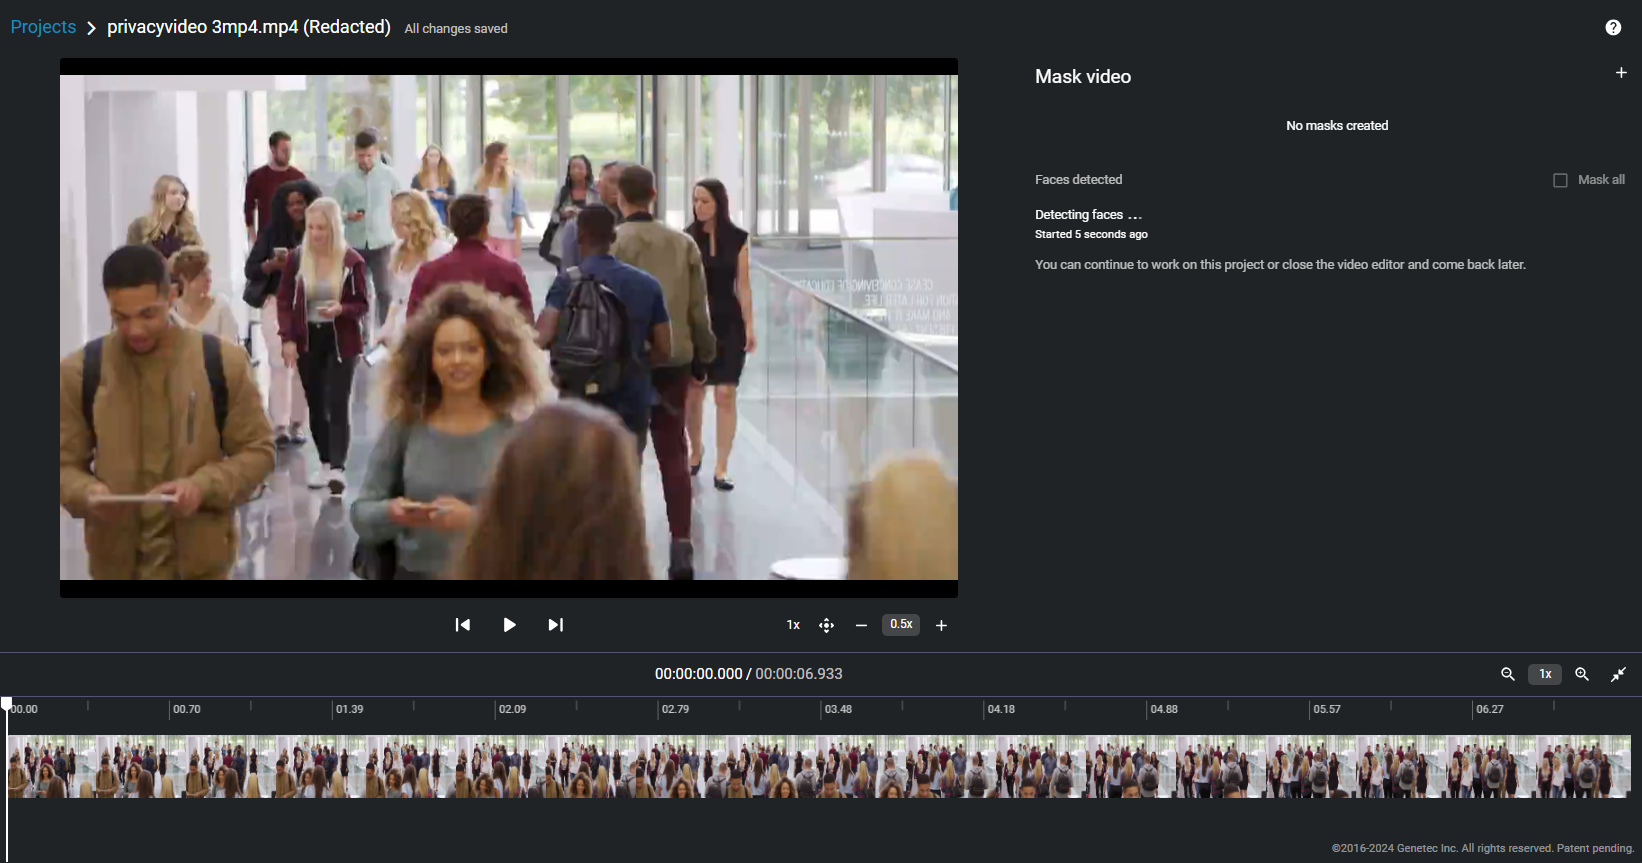
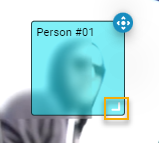
- Detected faces are displayed as thumbnails in the Mask faces section of the Faces tab.
- Detected faces are assigned a unique identifier to help identify
them and assign masks individually. For example,
Person
                                    #01
.
-
In the Mask video section, select one or mores face that
you want to mask by clicking the Mask face icon or select
Mask all.
 Tip:Clicking a mask in the list immediately identifies where in the scene that person was detected. This helps you navigate to and review the required segment more efficiently.
 -
Select a mask in the list and click Play video (
 ).
).
-
Use the timeline slider, zoom controls, or
your mouse scroll wheel to position the timeline slider at the section
of video that you want to redact.
Tip:Use the thumbnail previews in the timeline to help identify the exact point in the video that you require. To zoom in or out on the timeline, click Zoom in or Zoom out (
 )
)
-
Use the timeline slider, zoom controls, or
your mouse scroll wheel to position the timeline slider at the section
of video that you want to redact.
-
(Optional) Click Mask settings
(
 ) to specify the mask type that
you require.
) to specify the mask type that
you require.
-
If you specified Blurred, select a blur level.
Click or drag the slider to either Low,
Medium, or High to
preview the blur level.

-
If you specified Blurred, select a blur level.
Click or drag the slider to either Low,
Medium, or High to
preview the blur level.
-
To resize the mask, use your mouse at the
lower-right corner of the masking box.
-
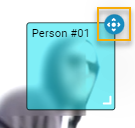
If the person or object you must redact
is moving in the video scene, you can adjust the mask location using the
tracking tool, as follows:
-
Next to the masking box on the video preview, click and hold the
tracking button (
 ).
).
-
When the mask is no longer required on the video, release
the tracking button ().
-
Next to the masking box on the video preview, click and hold the
tracking button (
-
To change the duration of the mask,
adjust the start and end points of the mask in the timeline.
 Tip:You can also adjust the start and end points by dragging the timeline bar to a specific point in the video and clicking Start mask at current time (
 ) or End mask at current time (
 ).
). -
(Optional) Delete masks.
- Click delete (
 ) in the mask
list to remove any mask that you no longer require.
) in the mask
list to remove any mask that you no longer require. - Click Delete mask (
 ) in the timeline controls to
delete the currently selected mask.
) in the timeline controls to
delete the currently selected mask.
- Click delete (
-
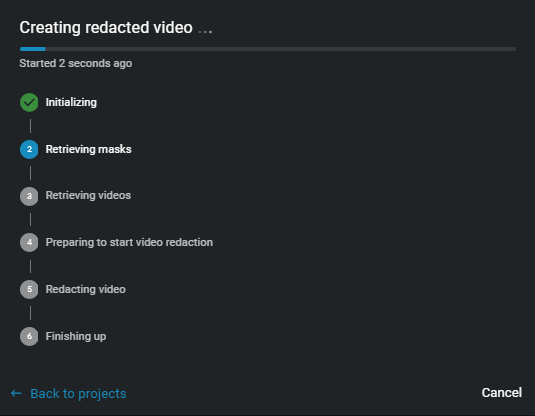
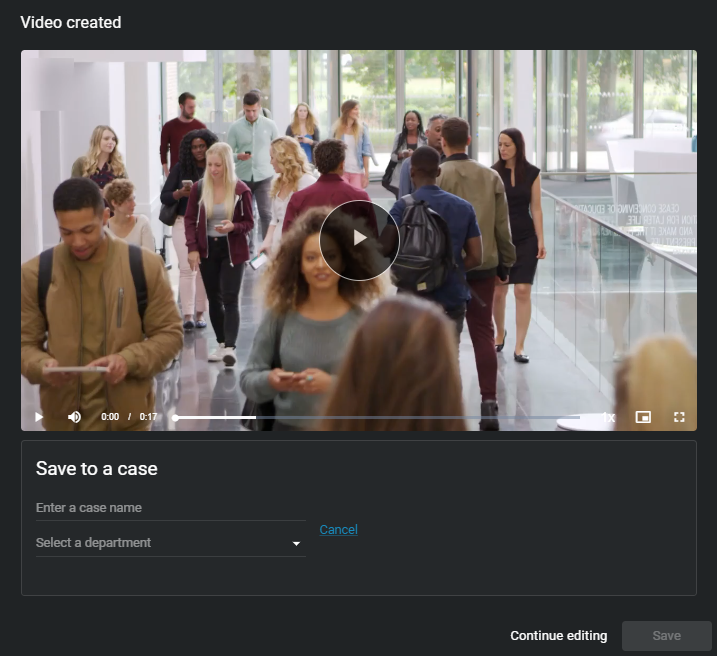
Click Create video to generate the redacted file.
-
(Optional) Click View details to track the
progress.
-
(Optional) Click View details to track the
progress.
-
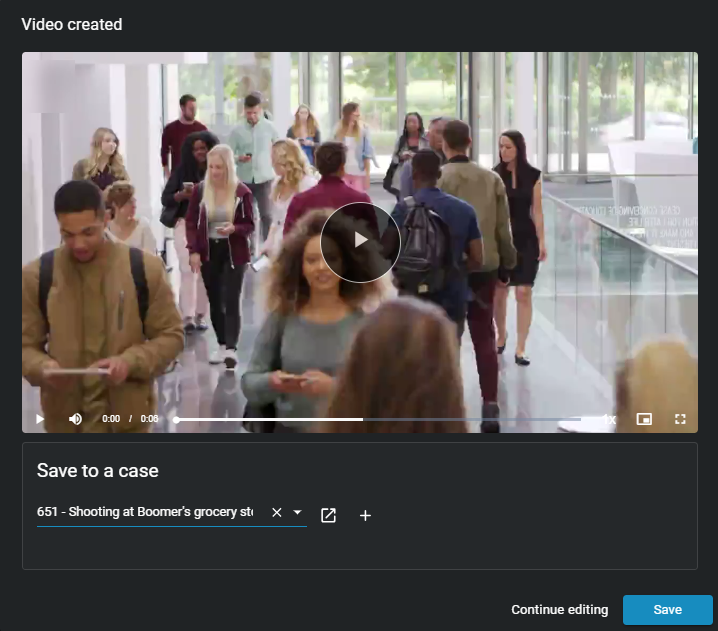
(Optional) To save the redacted video to an existing case.
-
Enter a case ID or name in the Search field or click the menu to see a
list.
-
(Optional) To check that you have the correct case click View
case (
 ).
).
-
Click Save to create a redacted copy of the
video file.
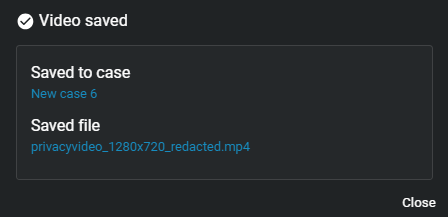 Tip:Click View file to change the file name before closing the dialog, so that others can easily find the file.
-
Enter a case ID or name in the Search field or click the menu to see a
list.
-
(Optional) To save the redacted video to a new case. For example, when you want
to share redacted evidence with someone who must not have access to the original
case.
-
Click Create a case.
-
Click Save to create a redacted copy of the
video file.
Tip:Click View file to change the file name before closing the dialog, so that others can easily find the file.
-
Click Create a case.
Example
Watch this video to learn more. Click the Captions icon (CC) to turn on video captions in one of the available languages.