2022-07-14Last updated
Configure drive location, network settings, and delete files using the Clearance Drive settings menu.
Procedure
To configure settings in Clearance Drive:
-
From the Clearance Drive homepage, click
More (
 ).
).
-
From the drop-down menu, click Settings.
To configure general settings:
-
If you want Clearance drive to launch automatically upon starting
your computer, check the Start Clearance Drive
automatically when I sign in to Windows checkbox.
-
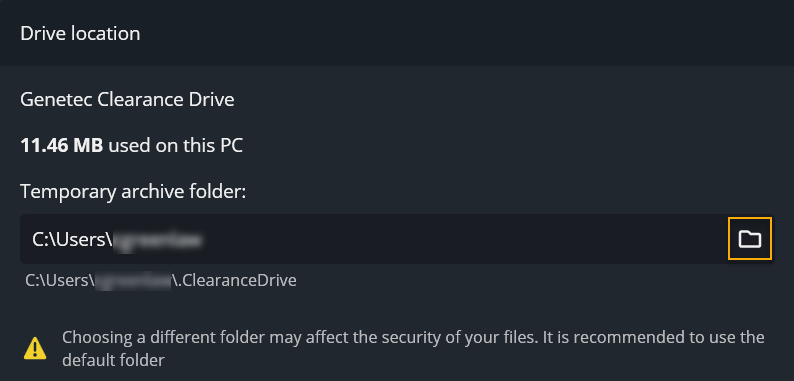
In the Temporary archive folder field, click
Browse (
 ) and select a location for Clearance Drive, or enter
a file path in the field.
) and select a location for Clearance Drive, or enter
a file path in the field.
-
If you need to delete all the temporary files that were downloaded from Clearance Drive, click Delete all files from local
drive.
Note: This action does not delete all associated files from Clearance
Drive. It only deletes the local files you have downloaded.
To configure network settings:
-
From the Clearance Drive homepage, click
More ().
-
From the drop-down menu, click Settings.
-
Click the Network tab.
-
From the Upload rate section, choose how much bandwidth to
dedicate to uploads by selecting the Limit to option and setting an
upload rate limit in megabytes per second.
-
From the Download rate section, choose how much bandwidth to
dedicate to downloads by selecting the Limit to option and setting
a download rate limit in megabytes per second.