
Managing cases using Clearance Drive
2022-07-12Last updated
Create cases in Clearance Drive and review them in Clearance later.
Before you begin
Procedure
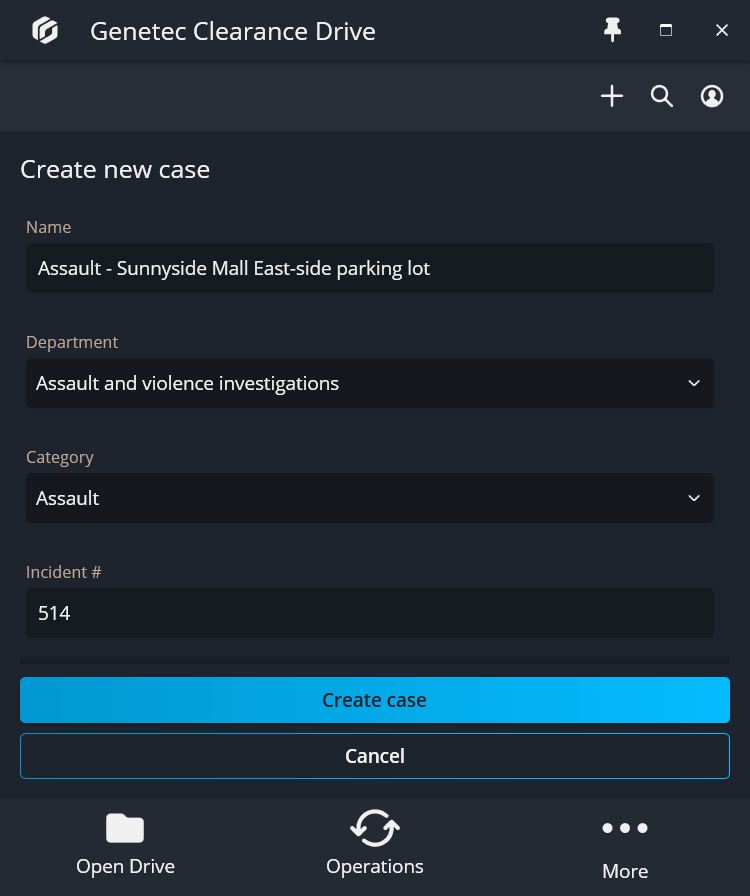
To create a case in Clearance Drive:
-
From the Clearance Drive header, click Create
case (
 ).
).
-
Enter information into the case fields:
-
Enter an incident number for the case.
-
Enter an incident number for the case.
-
Click Create case.
The case is created.Note:You can view the case in Clearance and add further field information and metadata to it there.
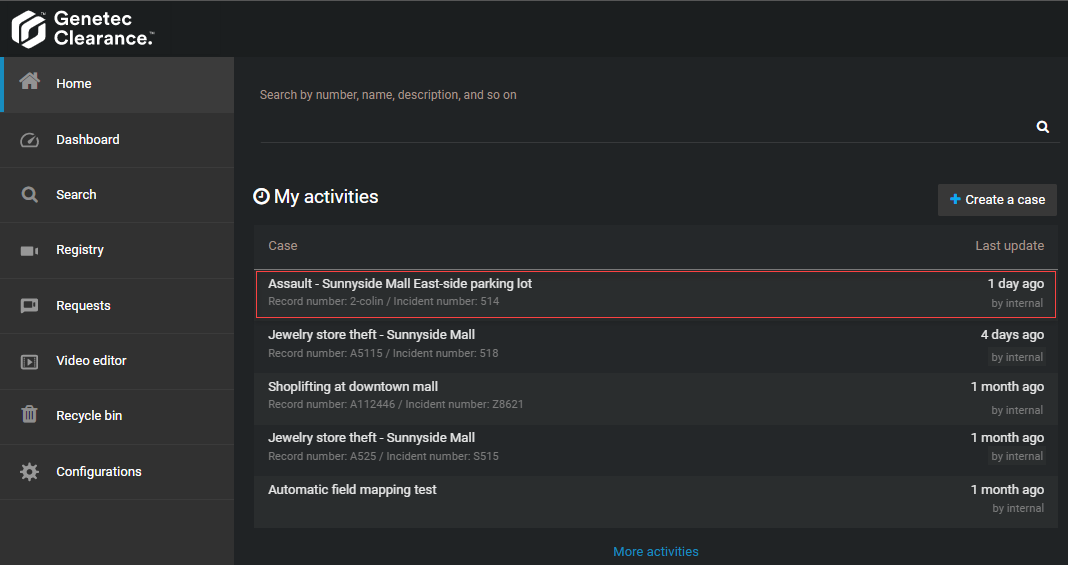
To search for a case using Clearance Drive:
-
From the Clearance Drive header, click
Search (
 ).
).