
Installing Clearance Drive
2026-06-15Last updated
Before you can transfer files or create cases using Clearance Drive, you must complete the installation procedure.
Before you begin
- A user with Windows Admin access must install the application.
- Windows 10 is the minimum version supported with Clearance Drive.
- To sign in with Clearance Drive, you must have a user account in Clearance.
- You must have an active internet connection.
What you should know
- Clearance Drive software updates occur automatically after the initial installation.
- The program and associated files are installed in the following filepaths:
- For installation type “Only for me”:
C:\Users\<USER>\AppData\Local\Programs\Genetec\Clearance Drive - For installation type “Everyone”:
C:\Program Files\Genetec\Clearance DriveNote:You must have admin rights on the computer to use this installation type. - For installations prior to September 2025:
C:\Users\<USER>\AppData\Roaming\Genetec\Clearance
                                Drive
- For installation type “Only for me”:
Procedure
-
Choose one of the following Clearance Drive installation
types:
- Only for me (
yourusername): If you choose this installation type, Clearance Drive only appears for you on the computer it is being installed on. - Everyone: If you choose this installation type, Clearance Drive appears for all users on the computer it is
being installed on.Note:You must have admin rights on the computer to use this installation type.
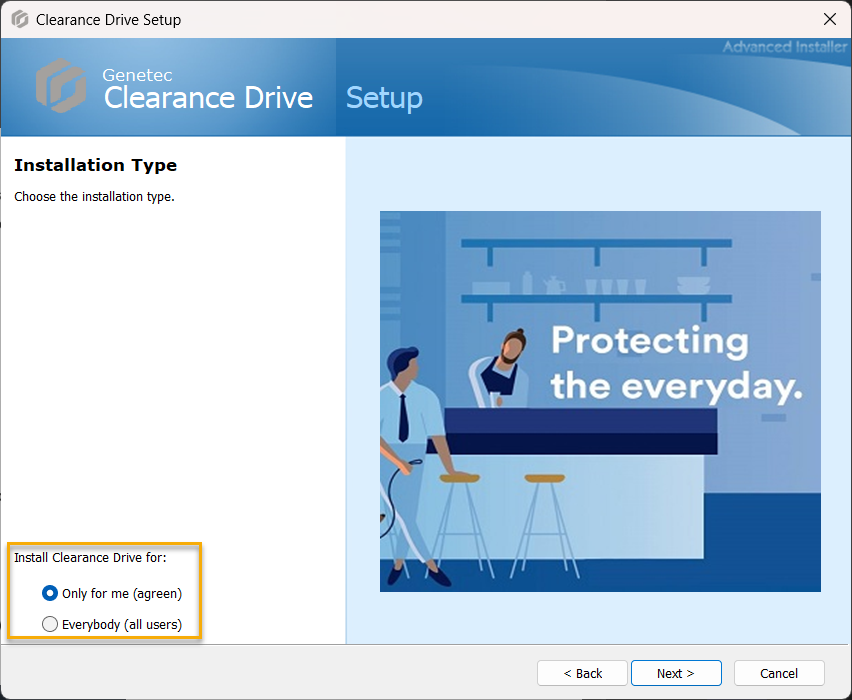 Note:If you have already installed Clearance Drive and want to change your installation type, you must completely uninstall and then reinstall the application.
 - Only for me (
-
Connect Clearance Drive with your Clearance account.
- Select the data center where your Clearance account is hosted.
- Sign in using your email address and password.
- Select the Clearance account you require.
Note:To open the Clearance Drive, click the Clearance Drive icon ( )
located in the Windows system tray.
)
located in the Windows system tray.- Clearance Drive opens.
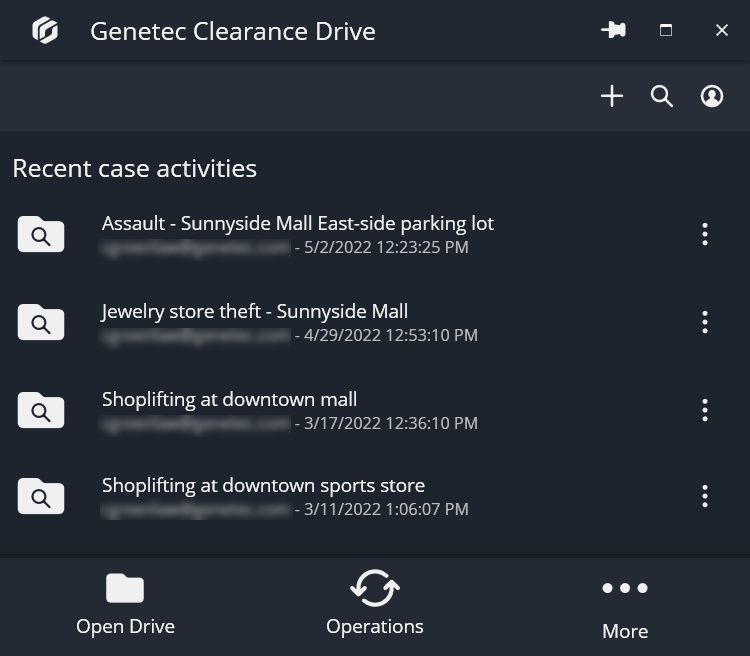
- Clearance Drive is shown when you navigate to the
file explorer.
