
Searching for cameras of interest
2024-10-17Last updated
To help you find the most relevant footage for an incident, you can search for camera devices and community participants that exist nearby the location of an incident.
Before you begin
- To take advantage of instant video uploads after request approval, ensure that the Clearance plugin is installed and activated on all your Security Center workstations. To download the Clearance plugin for Security Center, click here.
- Create request forms to ensure compliance with corporate standards and an efficient review process when managing requests. These request forms can be customized and are used to gather additional information specific to your organization and the approval workflow.
- To take advantage of camera functions on georeferenced maps in Clearance, ensure you have installed the latest version of the Clearance Plugin, and added cameras to your maps. For more information, see Adding cameras to your maps.
What you should know
- Use a view that suits your search criteria:
- Map
- Use this view when you do not know the name or location of cameras.
- List
- Use this view when you know the names or descriptions of cameras you want to request video from.
Procedure
To search for cameras in the Map view:
-
Click Registry (
 ).
).
-
Click View map.
-
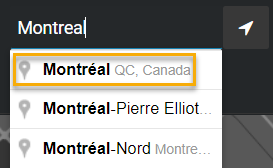
In the location box, enter a location name and select the correct location from the
results list.
-
In the search box, enter camera information and click
Search (
 ).
Camera name, camera ID (original device ID from client), or a Clearance camera ID.
).
Camera name, camera ID (original device ID from client), or a Clearance camera ID. -
(Optional) Click Location (
 ) to
center the map on your current browser location.
) to
center the map on your current browser location.
-
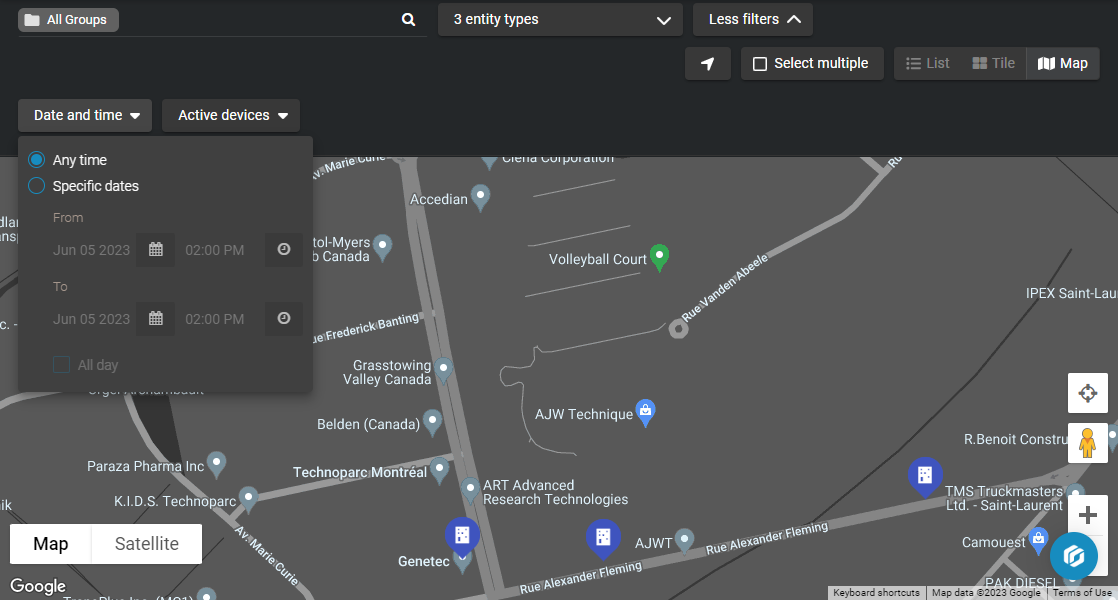
Click More Filters to expand the
search menu.
-
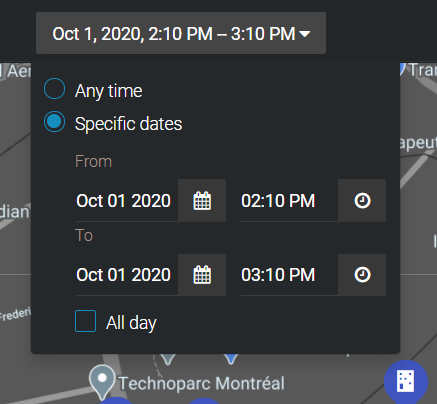
Click Date and time and enter a
specific date range that relates to the incident that you are investigating.
Using the Date and time search helps you find cameras with archived footage that relates to the specified period of the incident being investigated.
-
Click Date and time and enter a
specific date range that relates to the incident that you are investigating.
-
Click the camera icons (
 )
to check cameras found using the search criteria. Click a thumbnail from the list to check
the content relevance.
Tip:Click View details and check the description, location, how long the video is stored for, owner information, timezone, and the camera IDs to verify if the video is of interest.
)
to check cameras found using the search criteria. Click a thumbnail from the list to check
the content relevance.
Tip:Click View details and check the description, location, how long the video is stored for, owner information, timezone, and the camera IDs to verify if the video is of interest. -
(Optional) To find a specific location on the map, click Enter
location (
 ).
).
-
To select multiple cameras from the map:
- Click Rectangle selection (
 ) and select multiple cameras on the map using
a rectangle shape.
) and select multiple cameras on the map using
a rectangle shape. - Click Polygon selection (
 ) and select multiple cameras on the map
using a polygon shape. Drawing a polygon is useful when selecting cameras that are
dispersed across a random area.
) and select multiple cameras on the map
using a polygon shape. Drawing a polygon is useful when selecting cameras that are
dispersed across a random area.
- Click Rectangle selection (
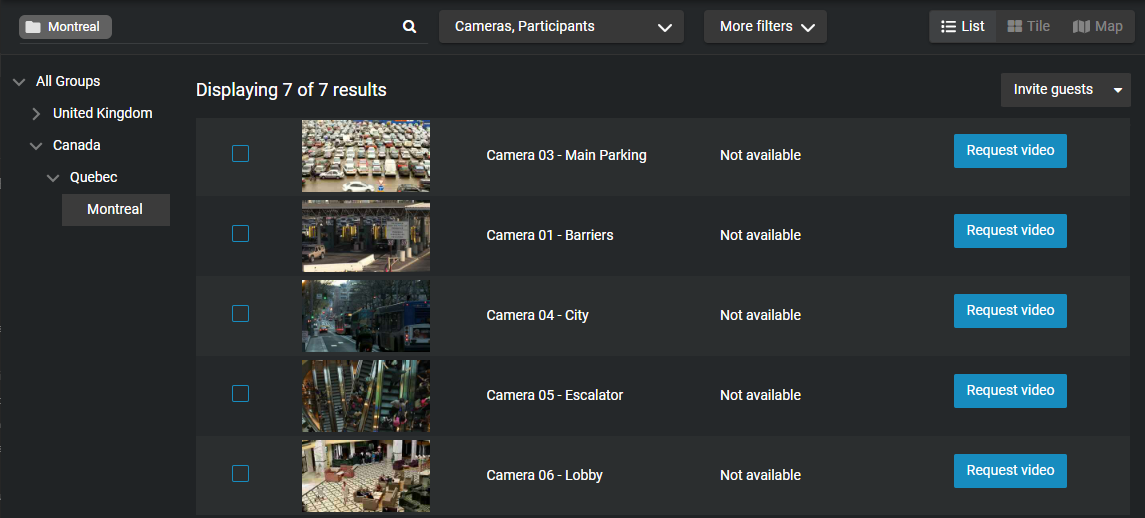
To search for cameras in the List view:
-
Click Registry ().
-
Click List view (
 ).
).
-
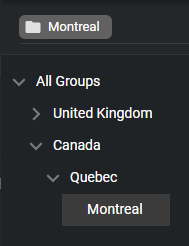
(Optional) If you know the group the relevant cameras are included in, select it from
the group list.
-
In the search box, enter camera information and click
Search ().
For example, camera name, camera ID, or description.
Example
Watch this video to learn more. Click the Captions icon (CC) to turn on video captions in one of the available languages.