To organize users by rank or role, and to simplify the assignment of permission and
security policies in the system, you can create user groups.
What you should know
You can create user groups for specific departments, groups that apply to multiple
or all departments, or groups that reside outside departments. Users can belong to
multiple groups. You must be an account administrator to create Clearance user groups.
Procedure
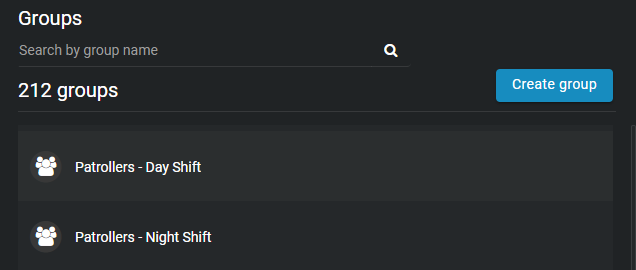
Click Configurations
> Groups.
Click Create group ().
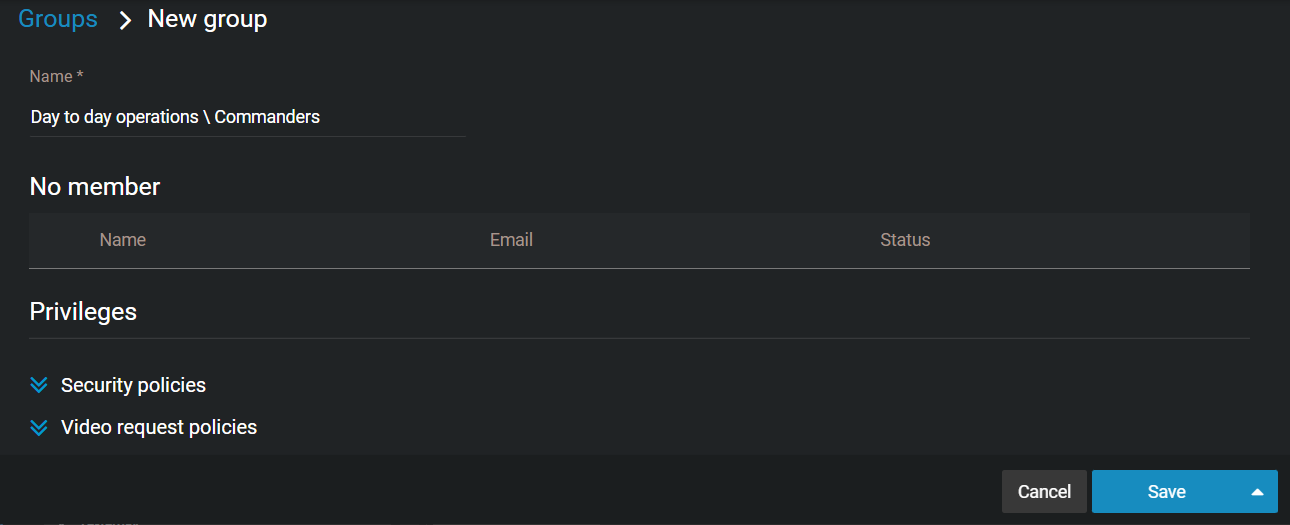
In the Name field, enter an applicable name for the
group.
Assign security and video request policies to the
group.
Click Save.
Your user group is created. To assign access policies to cases for this group, you
can either add this group to a department and then define the access policy, or define
the group's access policy on a case by case basis.
Example
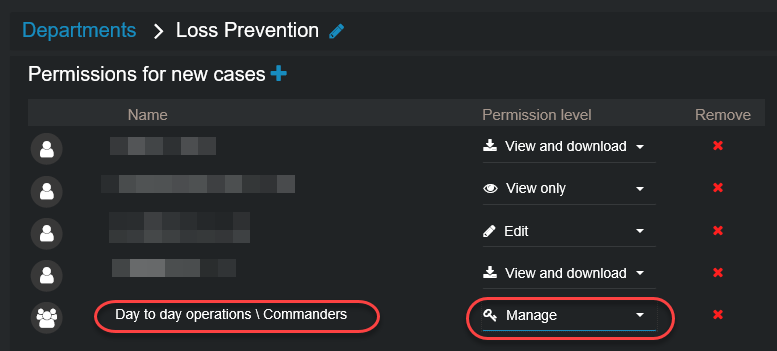
Let us assume you want the police commanders within your organization to have full
access to all new cases, regardless of which departments the cases are assigned to. As
shown in figures A and B below, you can create a group named Commanders, add the group
to each department within your organization, and then give the group the Manage
permission level in each department.
Figure A. Create the groupFigure B. Add group to department and assign access policies for new
cases
Watch this video to learn more. Click the
Captions icon (CC) to turn on video
captions in one of the available languages.

 ).
).